What I Learned Judging A Round of Pre-Screening Recordings
I was recently asked to be a judge for a round of pre-screening recordings, and it was my first time being on the other side of a recorded round. Listening through each candidate, I began to think about how I was listening based on the recording, and I made a mental checklist of things to take into account for myself and my students in future recording sessions.
Here's what a I learned while judging a round of pre-screening recordings:
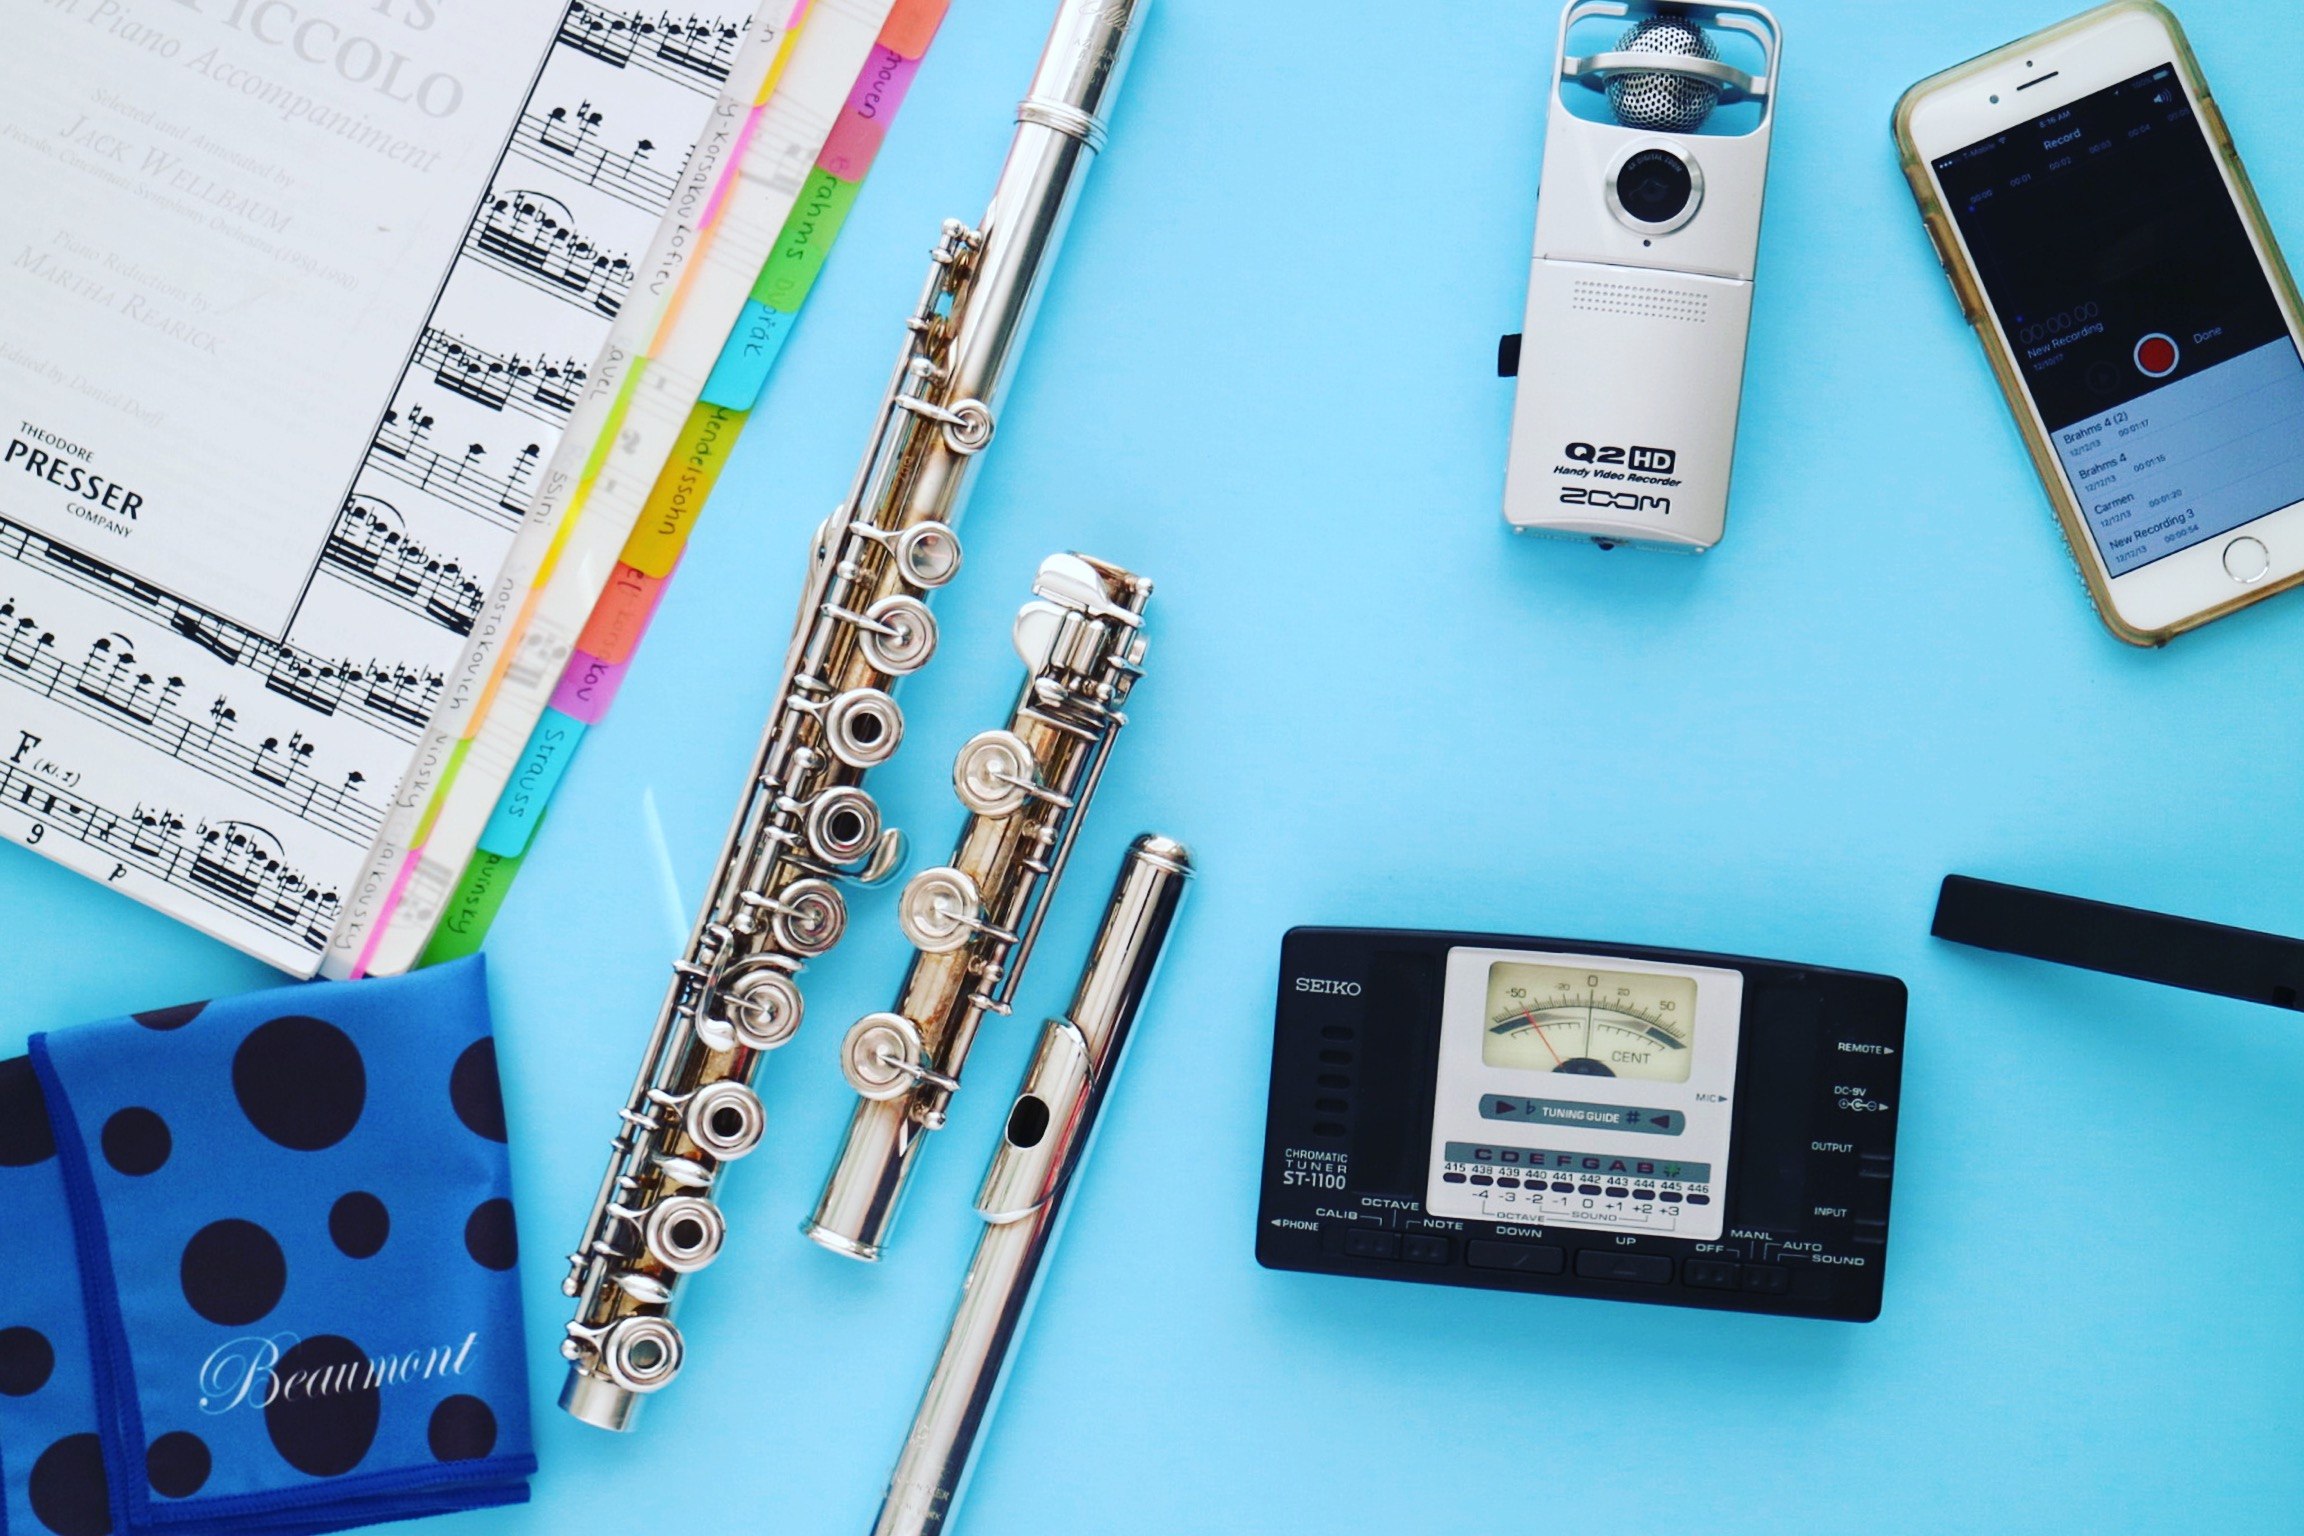
1. Recording Quality
Recording quality is really important for showcasing your true sound. The listener will have to guess about your tone if the quality is low or the distance from the microphone is off. Your tone is the first basis for determining your level of playing when it comes to competition recordings, and it makes the difference between the listener falling in love with your playing versus trying to decide on your ability in the first few moments. (Don't make them guess, make them love!)
2. Microphone Set-Up
Microphone angle and distance are just as important as a good recording device. Too far, and the quality can seem too low - the intricacies of your sound will be lost. Too close and you'll hear loud breaths and possibly even keys moving. Both things can distract the listener from how great you are.
3. Intonation
Intonation translates no matter the quality of recording! Take the time to practice playing in tune, and tune well on your recording day. A recording with few technical flaws but poor intonation throughout is very distracting to hear. Bring a recording device into your rehearsals - a phone works fine for listening back for pitch issues!
4. Play for the Space
Know the space you're playing in. If it's a dry room, be intentional about creating vibrancy and spin in the sound, and releasing the ends of notes. If it's a live or echoey space, keep things clear and precise.
5. Take a Sample First
Listen to the recording tests for yourself. Are your contrasts coming across? Are you happy with the balance? How's the distance and location of the microphone? Take a moment to make sure you're happy before proceeding.
Thinking back, I never heard the recording tests for myself - only the recording engineer listened. I didn't know how I was coming across in the room through the microphone, and in some cases, I would've played differently had I listened first. This can also help you hear whether you've tuned well or not before you proceed with a full take!
6. Have a Back-Up
Use a back-up recording device when possible. If you had a great take, but the recording device shut off halfway through (or you forgot to hit record altogether), you'll thank yourself for having a back-up device!
7. Don't Forget About Your Collaborator
Don't forget, your pianist is most likely going to be using an instrument that isn't their own. They may have insights or a preference as far as the location of your recording based on the instrument available, so account for this before deciding!